Craving chocolate but need to go gluten-free? You’re not alone! Gluten-free baking has come a long way, and making a decadent chocolate cake without wheat is easier than you think. In this article, you’ll learn everything about creating the best gluten-free chocolate cake recipe—from choosing the right ingredients to mastering foolproof techniques. Whether you’re baking for a special occasion or just because, this guide has you covered.
Let’s dive into the world of gluten-free baking and uncover how to make a cake so good, even those who eat gluten won’t know the difference!
Introduction to Gluten-Free Baking
What is Gluten-Free Baking?
Gluten-free baking replaces traditional wheat-based flours with alternative flours, like almond, rice, or tapioca. These options eliminate gluten—a protein found in wheat, barley, and rye. Gluten-free baking is ideal for individuals with celiac disease, gluten intolerance, or those following a gluten-free lifestyle.
Why Gluten-Free Chocolate Cake is a Game-Changer
While traditional chocolate cakes rely on gluten for structure, gluten-free versions use blends of alternative flours and stabilizers to achieve the same moistness and fluffiness. This recipe ensures the perfect balance of flavor and texture without compromising on quality.
The Growing Demand for Gluten-Free Recipes
With gluten-free diets gaining popularity, home bakers are seeking delicious recipes that cater to dietary restrictions without sacrificing taste. Gluten-free chocolate cake stands out as a crowd-pleaser, proving you can indulge while staying health-conscious.
Key Ingredients for a Perfect Gluten-Free Chocolate Cake

Choosing the Right Gluten-Free Flour Blend
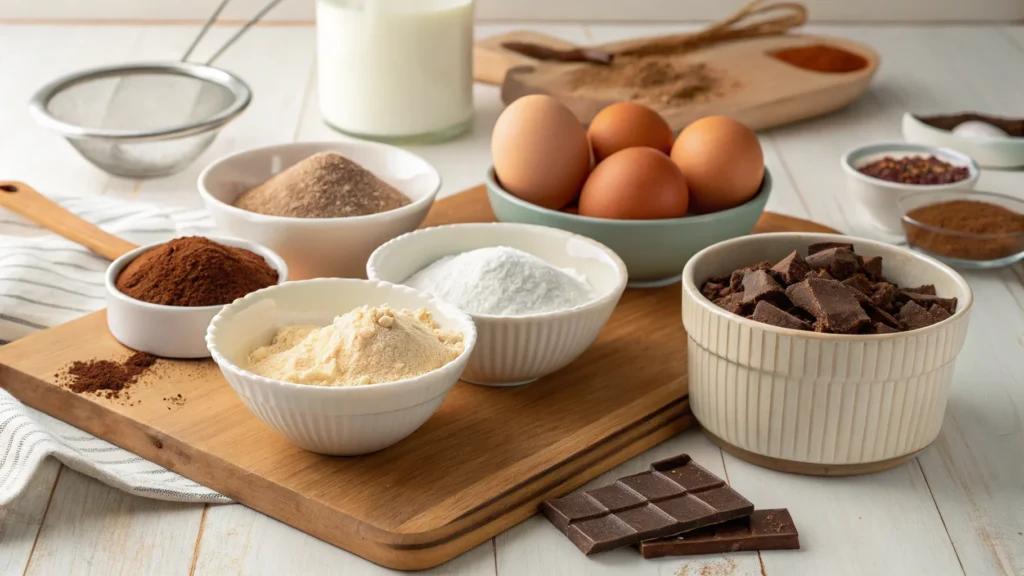
The foundation of any gluten-free chocolate cake is the flour. A high-quality gluten-free flour blend often contains a mix of rice flour, potato starch, and tapioca flour. These blends mimic the texture of traditional wheat flour, ensuring a moist and fluffy cake.
- Best options: Bob’s Red Mill Gluten-Free 1-to-1 Baking Flour or King Arthur Gluten-Free Flour.
- Pro Tip: Add a teaspoon of xanthan gum or guar gum for improved structure and elasticity.
The Role of Cocoa Powder in Flavor and Texture
Cocoa powder is essential for a rich chocolate flavor. Opt for unsweetened cocoa powder, as it provides the deep, robust chocolate taste that complements the sweetness of the cake.
- Dutch-processed cocoa powder gives a smoother, less acidic flavor, while natural cocoa powder adds a bolder chocolate profile.
- Pro Tip: Sift the cocoa powder before mixing to prevent clumps and ensure even distribution.
Alternative Sweeteners for a Healthier Twist
While granulated sugar works well, healthier alternatives like coconut sugar or maple syrup can be used for a more natural sweetness.
- Why choose alternatives? Coconut sugar adds a caramel-like undertone, and maple syrup retains moisture.
- Pro Tip: Adjust liquid ingredients if using liquid sweeteners to maintain the batter’s consistency.
Other Essential Ingredients
- Eggs: Provide structure and help the cake rise.
- Oil or Butter: Fat adds moisture and richness. Vegetable oil is a great neutral choice, while butter adds flavor.
- Milk or Dairy-Free Alternative: Ensures the batter is smooth and enhances the cake’s softness. Almond milk or oat milk works well for dairy-free versions.
- Leavening Agents: Baking powder and baking soda are crucial for achieving a light, airy texture.
Baking Techniques for Gluten-Free Cakes
How to Mix the Ingredients Properly
Getting the mixing process right is crucial in gluten-free baking. Unlike traditional cake batters, gluten-free batters can be more delicate.
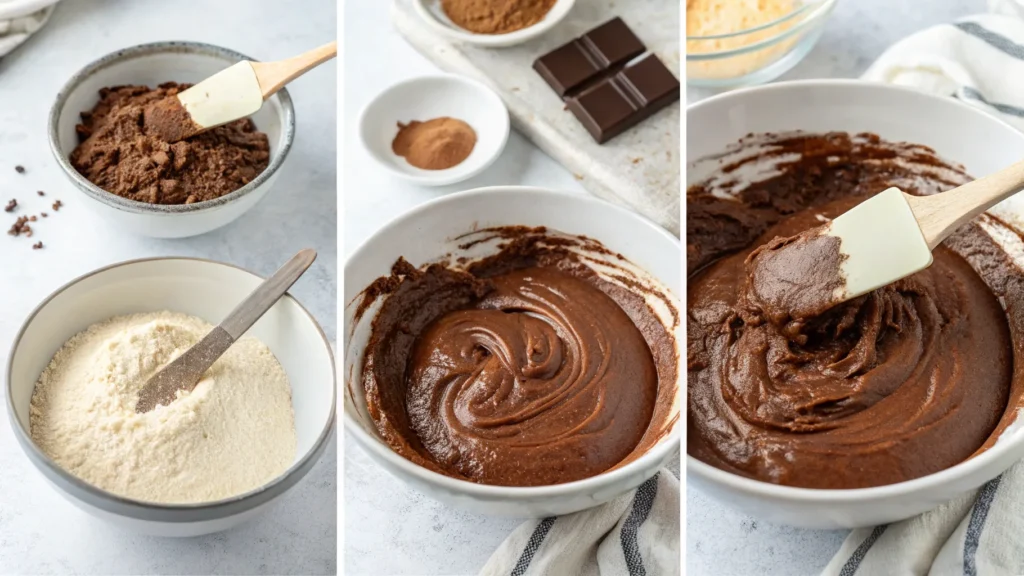
- Dry Ingredients First: Always whisk the dry ingredients, like gluten-free flour, cocoa powder, and baking powder, together in a separate bowl. This ensures even distribution and prevents clumps.
- Wet Ingredients Separately: Combine eggs, sugar, oil, and vanilla extract in another bowl. Beat until smooth and frothy to incorporate air, which helps the cake rise.
- Combine Gently: Gradually add the dry ingredients to the wet mixture, mixing just until combined. Overmixing can lead to a dense cake.
Ensuring a Smooth and Lump-Free Batter
Smooth batter guarantees a uniform texture in the final cake.
- Tip 1: Sift the dry ingredients to remove any lumps, especially in cocoa powder and gluten-free flour.
- Tip 2: Use a hand mixer or stand mixer at low speed to avoid overworking the batter.
- Tip 3: Scrape the sides of the bowl frequently to ensure all ingredients are fully incorporated.
Pre-Baking Tips for Better Results
The preparation before the cake goes into the oven is just as important as the baking process itself.
- Preheat Your Oven: Gluten-free cakes can be sensitive to temperature changes, so ensure your oven is preheated to 350°F (175°C).
- Grease Your Pan: Use oil or butter to coat your pan, and line it with parchment paper for easy removal.
- Rest the Batter: Allow the batter to rest for 20–30 minutes before baking. This lets the flour hydrate and helps improve the cake’s structure and texture.
Baking Time and Temperature
- Even Heat Distribution: Place the cake pan in the center of the oven. Avoid opening the oven door too frequently during baking, as it can cause the cake to collapse.
- Check for Doneness: Insert a toothpick in the center of the cake. If it comes out clean or with a few crumbs, it’s ready.
Step-by-Step Gluten-Free Chocolate Cake Recipe
Ingredients List
Dry Ingredients:
- 1 ¾ cups gluten-free flour blend
- ¾ cup unsweetened cocoa powder (sifted)
- 1 ½ tsp baking powder
- ½ tsp baking soda
- ½ tsp salt
Wet Ingredients:
- 1 cup granulated sugar (or coconut sugar for a healthier option)
- ¾ cup vegetable oil (or melted coconut oil for added richness)
- 3 large eggs
- 1 cup milk (or almond/oat milk for dairy-free)
- 1 tsp vanilla extract
Optional Ingredients:
- ½ cup dark chocolate chips (for extra richness)
- 1 tsp espresso powder (to enhance the chocolate flavor)

Detailed Instructions
Step 1: Prepare the Baking Tools
- Preheat your oven to 350°F (175°C).
- Grease a 9-inch round cake pan with oil or butter, then line the bottom with parchment paper to prevent sticking.
Step 2: Mix the Dry Ingredients
- In a large bowl, whisk together the gluten-free flour blend, cocoa powder, baking powder, baking soda, and salt. Ensure the mixture is smooth and clump-free.
Step 3: Combine the Wet Ingredients
- In another bowl, beat the sugar, oil, and eggs until the mixture is light and frothy. This step is key for incorporating air into the batter, helping it rise.
- Add the milk and vanilla extract, mixing until smooth.
Step 4: Create the Batter
- Gradually add the dry ingredients to the wet mixture. Mix gently with a spatula or a hand mixer at low speed, ensuring no dry streaks remain.
- For an added treat, fold in dark chocolate chips or a sprinkle of espresso powder at this stage.
Step 5: Rest the Batter
- Let the batter sit for 20 minutes to hydrate the gluten-free flour. This resting period improves the cake’s structure and texture.
Step 6: Bake the Cake
- Pour the batter into the prepared pan, spreading it evenly.
- Bake for 30–35 minutes, or until a toothpick inserted into the center comes out clean or with a few crumbs.
Step 7: Cool Completely
- Remove the cake from the oven and let it cool in the pan for 10 minutes.
- Transfer the cake to a wire rack and cool completely before adding frosting.
Pro Tip: If making cupcakes, reduce the baking time to 18–22 minutes.
Tips and Tricks for a Fluffy Gluten-Free Cake
What Helps Gluten-Free Cakes Rise?
Achieving a light and fluffy texture in gluten-free cakes can be challenging, but these tips can make a difference:
- Leavening Agents: Use the right combination of baking powder and baking soda to provide lift and structure.
- Eggs: Eggs are crucial for trapping air during mixing. For an egg-free version, use flaxseed meal (1 tablespoon flaxseed + 3 tablespoons water = 1 egg).
- Acids: Adding a splash of lemon juice or apple cider vinegar can react with baking soda, creating additional bubbles to help the cake rise.
The Science of Combining Baking Powder and Eggs
The chemical reaction between baking powder and liquid generates carbon dioxide, which causes the batter to rise. Eggs then stabilize this airy structure during baking. To maximize these effects:
- Beat eggs and sugar together until frothy before mixing with other ingredients.
- Avoid overmixing the batter, as it can deflate the air bubbles.
Should the Batter Rest Before Baking?
Yes, resting the batter is a secret weapon in gluten-free baking! Allowing the batter to sit for 20–30 minutes before baking lets the flour fully hydrate, reducing the grainy texture often associated with gluten-free baked goods.
- Pro Tip: Cover the batter while it rests to prevent it from drying out.
Maintaining Moisture in Gluten-Free Cakes
Moisture retention is key to a delicious cake.
- Use Fat: Ingredients like vegetable oil or butter help maintain a tender crumb. Coconut oil is also an excellent option.
- Dairy or Dairy-Free Milk: Adding yogurt or sour cream can elevate moisture levels. Dairy-free bakers can use coconut cream or almond yogurt.
- Avoid Overbaking: Check the cake at the minimum baking time. Overbaking dries out gluten-free cakes quickly.
Experimenting with Texture Enhancers
To improve the texture of your cake:
- Add xanthan gum or guar gum to mimic the elasticity of gluten.
- Incorporate a small amount of finely ground almond flour for a softer crumb.
Frosting and Decoration Ideas for Gluten-Free Chocolate Cake

Simple Chocolate Ganache Recipe
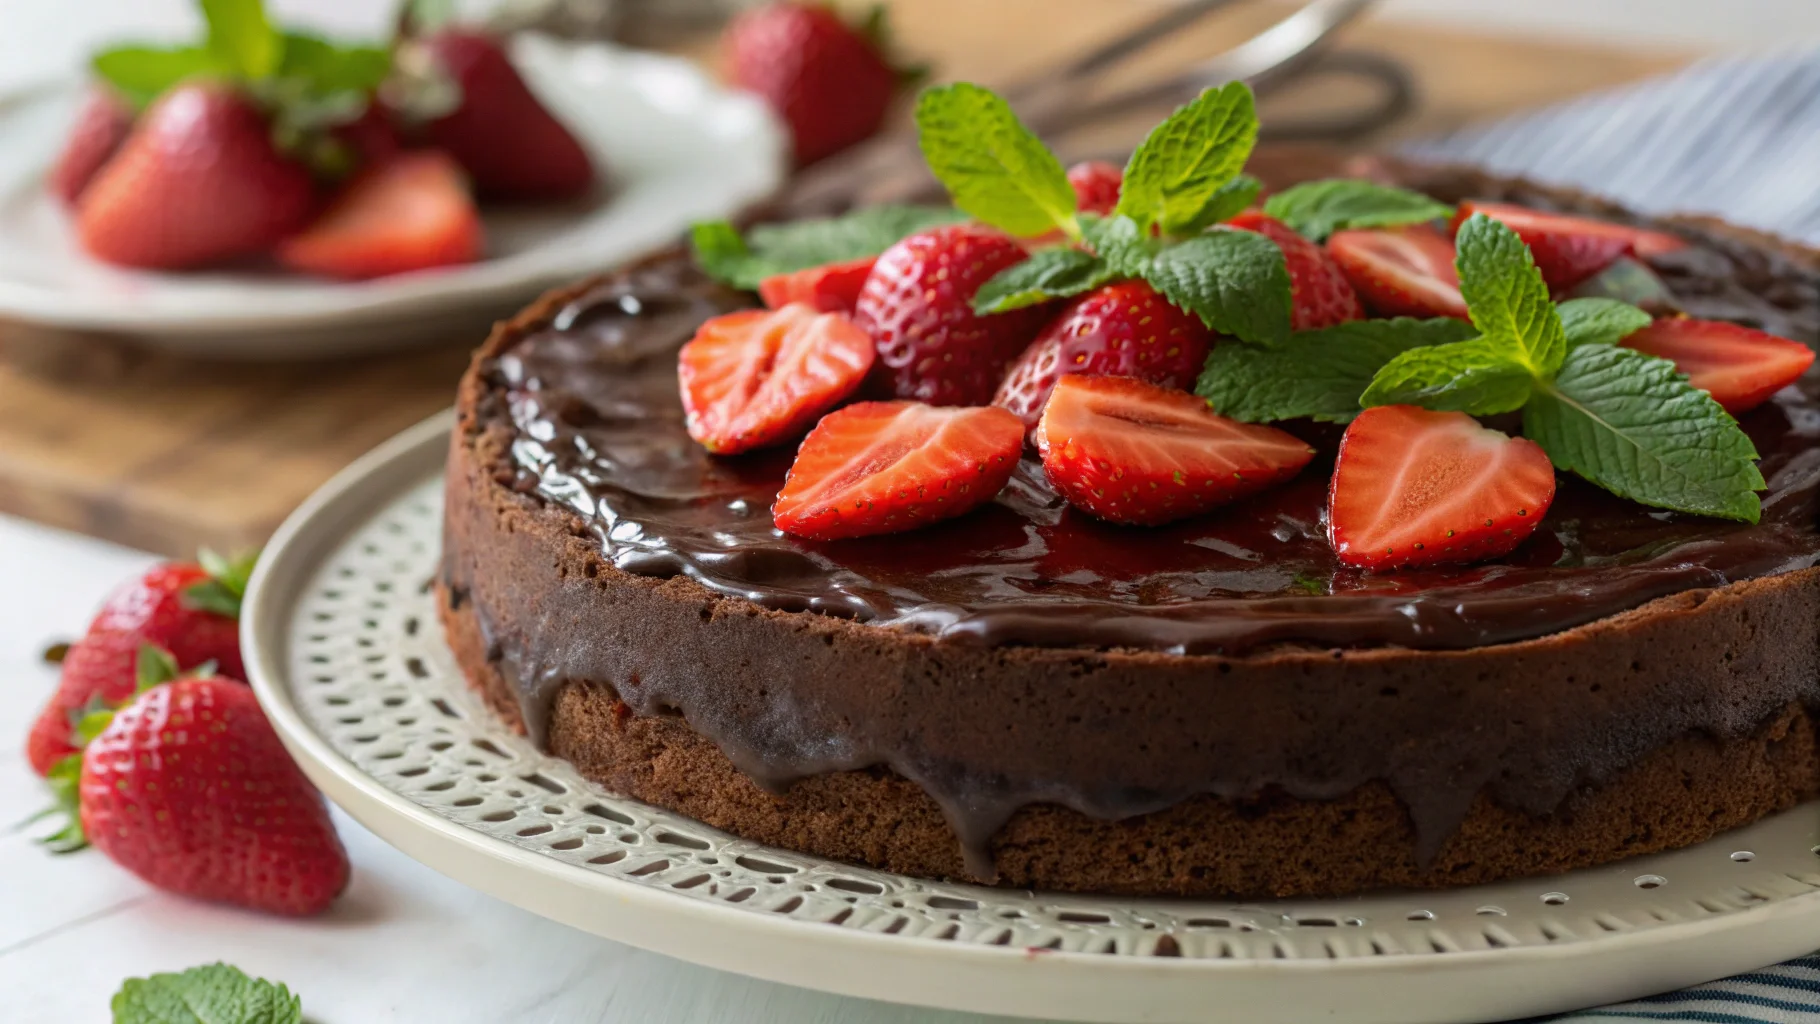
A rich, glossy ganache elevates any gluten-free chocolate cake. Here’s how to make it:
- Ingredients:
- 1 cup heavy cream (or coconut cream for dairy-free)
- 1 ½ cups dark chocolate chips
- 1 teaspoon vanilla extract (optional)
- Instructions:
- Heat the cream in a saucepan over medium heat until it begins to simmer.
- Pour the hot cream over the chocolate chips in a heatproof bowl. Let it sit for 2–3 minutes.
- Stir until smooth and shiny. Add vanilla extract if desired.
- Let it cool slightly before pouring over the cake for a glossy finish or chilling to spread as a frosting.
Using Fresh Fruits and Nuts for Decoration
Add natural elements for a burst of flavor and visual appeal:
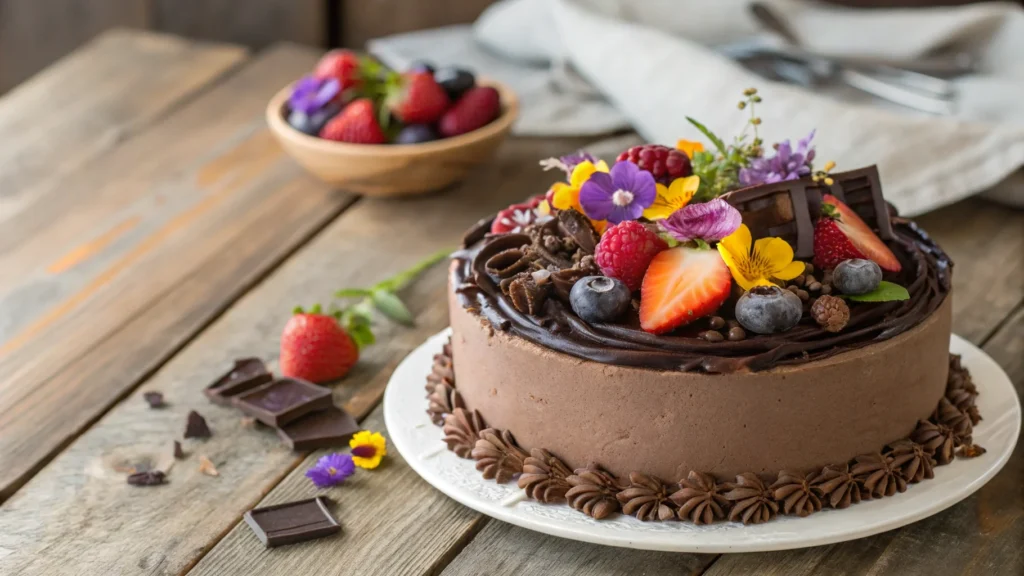
- Fruits: Fresh strawberries, raspberries, or blackberries pair beautifully with chocolate. Arrange them on top or around the edges of the cake.
- Nuts: Chopped almonds, walnuts, or hazelnuts can add a satisfying crunch. Toast them for extra flavor.
Creative Gluten-Free Toppings
Let your cake shine with these creative decorations:
- Edible Flowers: Choose organic, edible flowers like pansies or violets to add elegance.
- Coconut Shreds: Sprinkle lightly toasted coconut on the frosting for a tropical twist.
- Chocolate Shavings: Use a vegetable peeler to create chocolate curls and sprinkle them over the ganache.
Pro Tip: Keep decorations gluten-free by verifying all ingredients, including toppings, are free from cross-contamination.
Variations and Customizations
Dairy-Free and Vegan Options
Making your gluten-free chocolate cake dairy-free or vegan is simple with the right substitutions:
- For Milk: Use almond milk, oat milk, or coconut milk as a one-to-one replacement.
- For Butter: Swap with coconut oil, vegan butter, or a neutral vegetable oil like canola.
- For Eggs: Use one of these substitutes per egg:
- Flaxseed meal (1 tbsp flaxseed + 3 tbsp water)
- Applesauce (¼ cup unsweetened applesauce)
- Mashed banana (¼ cup per egg, adds slight sweetness)
If you’re looking to explore other gluten-free baked goods, discover more about gluten-free baking with these delicious gluten-free cupcakes.
Adding Flavors Like Vanilla or Coffee
Elevate your gluten-free chocolate cake with extra flavors:
- Vanilla: Add an extra teaspoon of pure vanilla extract for warmth and depth.
- Coffee: A teaspoon of espresso powder enhances the chocolate’s richness without making the cake taste like coffee.
- Orange Zest: A touch of orange zest in the batter or frosting adds a zesty, aromatic twist.
Turning It Into Cupcakes or Layered Cakes
Want to switch things up?
- Cupcakes: Divide the batter into lined cupcake tins, filling each about two-thirds full. Bake for 18–22 minutes or until a toothpick comes out clean.
- Layered Cake: Double the recipe to create two 9-inch layers. After cooling, spread frosting or ganache between the layers for an indulgent dessert.
Incorporating Add-Ins for a Unique Twist
Make your cake stand out by mixing in some extras:
- Chocolate Chips: Stir in a handful of gluten-free chocolate chips for bursts of gooey chocolate.
- Nuts: Add chopped walnuts or pecans for a delightful crunch.
- Spices: A pinch of cinnamon or cayenne can bring an exciting flavor profile.
Pro Tip: Always ensure add-ins are labeled gluten-free to avoid cross-contamination.
Troubleshooting Common Gluten-Free Cake Issues
Why is My Cake Crumbly?
Crumbly gluten-free cakes are a common issue caused by insufficient binding agents or overly dry batter.
- Solutions:
- Add xanthan gum or guar gum to provide structure.
- Use an extra egg for more moisture and binding.
- Avoid overbaking, as gluten-free cakes dry out quickly.
How to Fix Overly Dense Cakes
A dense cake often results from improper leavening or overmixing.
- Solutions:
- Double-check the freshness of your baking powder and baking soda. Expired leavening agents lose potency.
- Beat the eggs and sugar longer to incorporate more air.
- Mix the batter gently to avoid deflating the air bubbles.
What to Do If the Cake Doesn’t Rise
Flat cakes can occur due to insufficient leavening or batter spreading too thin.
- Solutions:
- Ensure you’re using the correct amount of baking powder and baking soda.
- Let the batter rest before baking to hydrate the flour and stabilize the structure.
- Avoid opening the oven door during baking, as this can cause the temperature to drop and collapse the cake.
How to Prevent a Gummy Texture
A gummy texture may result from using too much liquid or overmixing.
- Solutions:
- Follow the recipe’s liquid measurements precisely.
- Allow the cake to cool completely before slicing, as gluten-free cakes firm up as they cool.
Pro Tip: Keeping a baking journal can help you track adjustments to find the perfect technique for your oven and ingredients.
FAQs
1. Which Flour is Best for Gluten-Free Cakes?
The best flour for gluten-free cakes is a blend of multiple flours to replicate the texture of traditional wheat flour.
- Recommended Options: Bob’s Red Mill Gluten-Free 1-to-1 Baking Flour and King Arthur Gluten-Free Flour.
- Why Blends Work: They combine rice flour, tapioca starch, and potato starch for optimal structure and softness.
2. What Helps Gluten-Free Cakes Rise?
- Key Factors:
- Baking powder and baking soda are essential leavening agents.
- Eggs add structure and trap air during mixing.
- Resting the batter hydrates the flour, enhancing rise during baking.
3. Should Gluten-Free Cake Batter Rest Before Baking?
Yes! Resting the batter for 20–30 minutes allows the gluten-free flour to absorb liquid, reducing graininess and improving texture.
- Pro Tip: Cover the batter while it rests to prevent it from drying out.
4. What is the Best Gluten-Free Substitute for Cake Flour?
A mix of gluten-free flour, cornstarch, and xanthan gum works as a great substitute.
- DIY Cake Flour:
- 1 cup gluten-free flour blend
- 2 tablespoons cornstarch
- ½ teaspoon xanthan gum
5. What is the Trick to Baking with Gluten-Free Flour?
The trick lies in precise measurements and proper hydration.
- Key Tips:
- Weigh your flour for accuracy, as gluten-free flours vary in density.
- Mix batter gently to prevent overworking and drying out the cake.
- Add extra moisture through ingredients like yogurt or oil.
6. What is the Closest Gluten-Free Flour to All-Purpose Flour?
The closest gluten-free flour blend to all-purpose flour is a 1-to-1 baking flour mix.
- Brands to Try:
- Bob’s Red Mill Gluten-Free 1-to-1 Baking Flour
- Cup4Cup Gluten-Free Flour
If you have additional questions about gluten-free baking or techniques, let me know in the comments!
For those who enjoy exploring unique desserts, check out another ultimate guide for a crowd-pleasing gluten-free pumpkin dump cake recipe.
Conclusion and Serving Suggestions
Wrapping Up Your Gluten-Free Chocolate Cake Journey
Creating a gluten-free chocolate cake doesn’t mean sacrificing flavor or texture. With the right ingredients, techniques, and a little patience, you can bake a rich, moist, and decadent cake that everyone will love. Whether you’re accommodating dietary restrictions or simply exploring new recipes, this cake proves that gluten-free can be just as indulgent as traditional desserts.
If you’re craving more moist and flavorful gluten-free cake ideas, try this homemade fresh apple cake.
Serving Suggestions for Every Occasion
- Everyday Treat: Serve a slice with a dollop of whipped cream or dairy-free whipped topping for a casual dessert.
- Special Occasions: Decorate the cake with fresh fruits, edible flowers, or a drizzle of chocolate ganache for birthdays, anniversaries, or celebrations.
- Pairings: Enjoy your cake with a steaming cup of coffee, a glass of milk, or even a rich red wine for an elegant dessert experience.
Encouragement to Share and Experiment
Don’t be afraid to get creative with this recipe! Try adding your favorite flavors, swapping ingredients to fit dietary needs, or turning the cake into cupcakes or layers. Share your gluten-free chocolate cake creations with friends and family—they might not even realize it’s gluten-free!
Pro Tip: For the best results, store any leftovers in an airtight container at room temperature for up to two days, or refrigerate for up to five days.
Let’s create gluten-free memories, one bite at a time. Now that you have all the tips and tricks, it’s time to get baking!


2 thoughts on “The Best Gluten-Free Chocolate Cake Recipe You’ll Ever Try”